
How To Replace A Car A/C Compressor
A car’s A/C compressor is made such that it can pump the refrigerant needed for an A/C system to function. It is designed to convert low pressure vapor refrigerant into a high pressure one. The more modern compressors function through the aid of the clutch and the pulley – the two playing an important role in the proper functioning of the A/C system. When you notice that your A/C compressor fails, it follows that the A/C system will no longer work and at the worse, this can contaminate the rest of the system. You will need to replace a car A/C compressor when this happens. Here is what you should do.
Start By Locating the A/C Compressor
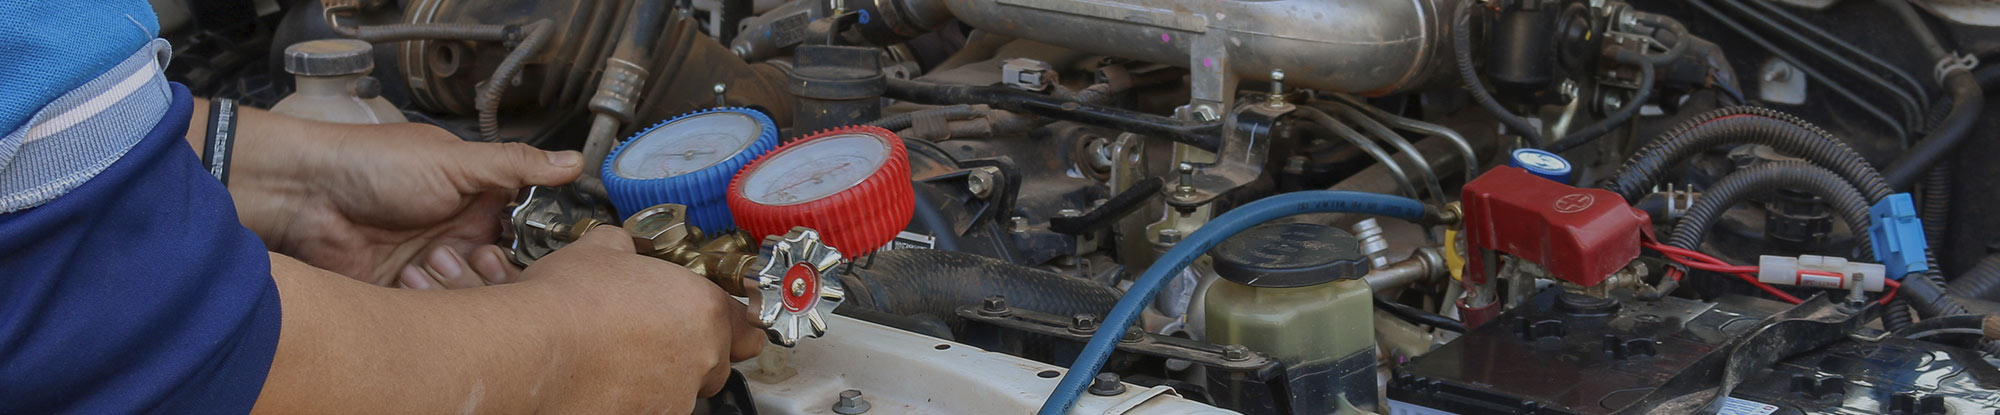
You will find it in front of the engine together with all other belt-driven accessories. Since this can be a tough job, you will need the assistance of an expert. You must make sure that a professional will take charge of recovering the refrigerant. The A/C system cannot be serviced unless the refrigerant has been removed.
Removing the A/C Compressor
You will need protective gloves, a wrench, safety glasses, and jack and jack stands. You must also have the repair manual with you. The first thing you should do is to find where the serpentine belt tensioner is located. You can find this using a belt routing diagram. Basically, the diagram is located on the engine compartment where the decal is placed.
Once you have located the tensioner, you should rotate it using the wrench to allow it to slide away from the belt. Proceed to removing the belt from those of the pulleys. When you are done, you can now disconnect all electrical connectors attached to the A/C compressor. Disconnect all other pressure hoses as well. Remove mounting bolts from the compressor then you are about ready to remove the A/C compressor from the car.
Have the New Compressor Ready
Once you have removed the old compressor, you should get the replacement unit and compare whether the new and old are the same. Remove all dust caps from the new one then make it a point that you add the recommended amount of lubricant into it. Check whether you should use PAG or Plyol Glycol oil. There are also instances when the lubricant comes with the compressor as well so you don’t need to add the lubricant anymore.
Install the New A/C Compressor
Using a small screw driver, start picking and removing the O-rings found on the A/C pressure lines. Place the new compressor inside the vehicles making sure that it is aligned with the corresponding mounting holes. Tighten the mounting bolts and reinstall all lines and all electrical connectors connecting the A/C compressor to the car. Take a look at the belt routing diagram again so that you can position the belt correctly on the pulleys. Pushing or pulling the tensioner, you can now install the belt to the pulleys.
On top of all these, you will need help from an expert to help recharge the system. Once you are done, you can enjoy your A/C system once more.