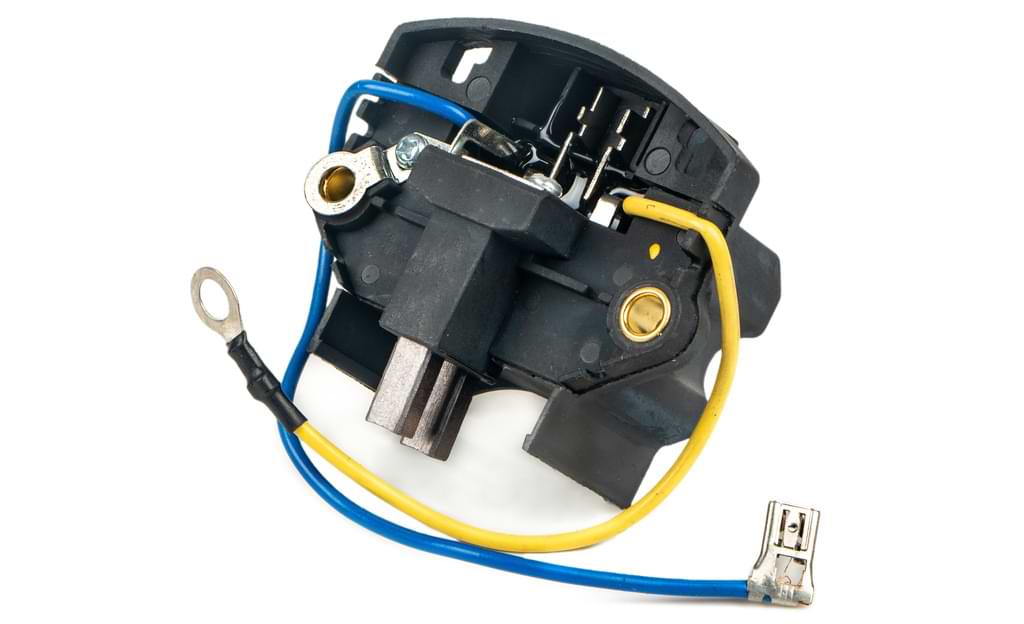
The air conditioning (AC) system in your vehicle is an essential component for your comfort during hot weather. The AC compressor relay is responsible for the proper functioning of the AC system, as it regulates the electrical flow to the compressor. When the AC compressor relay fails, it needs to be replaced promptly to ensure that the AC system continues to work correctly. In this post, we will explore how long it takes to replace an AC compressor relay.
What is an AC Compressor Relay?
The AC compressor relay is a small electrical component that regulates the power supply to the AC compressor. It is located in the engine compartment of your vehicle and is connected to the AC compressor through wiring. When the relay fails, it can cause the AC system to stop working or not work correctly, leading to warm air blowing out of the vents.
How Long Does It Take to Replace an AC Compressor Relay?
The time it takes to replace an AC compressor relay depends on several factors, such as the make and model of the vehicle, the location of the relay, and the level of expertise of the mechanic. In general, replacing an AC compressor relay is a quick and straightforward process that can be completed in under an hour.
Here is a step-by-step guide on how to replace an AC compressor relay:
Step 1: Turn off the engine and disconnect the battery
Before working on any electrical components of your vehicle, you need to disconnect the battery to avoid any risk of electric shock. Use a wrench to loosen the negative cable and remove it from the battery.
Step 2: Locate the AC compressor relay
The AC compressor relay is located in the engine compartment, near the AC compressor. Check your vehicle’s owner’s manual to find the exact location of the relay. In some vehicles, the relay is located in the fuse box.
Step 3: Remove the old relay
Use a pair of pliers to remove the old relay from its socket. Carefully pull the relay out of its socket to avoid damaging the wiring.
Step 4: Insert the new relay
Insert the new relay into the socket, making sure that it is securely in place. Check the wiring to ensure that it is not damaged or frayed.
Step 5: Reconnect the battery
Reconnect the negative cable to the battery and tighten it with a wrench.
Step 6: Test the AC system
Start the engine and turn on the AC system to test if the new relay is working correctly. Check if cool air is blowing out of the vents.
Conclusion
Replacing an AC compressor relay is a quick and straightforward process that can be completed in under an hour. If you are comfortable working with electrical components, you can replace the relay yourself by following the step-by-step guide above. However, if you are unsure or uncomfortable, it is best to check out the learning center at R & Y A/C Compressors to equip yourself with the necessary tools and expertise to complete the job correctly.
